That familiar, sticky feeling on a gentle traverse is not always down to tired legs or soft afternoon snow. Dry ski bases create drag, lose speed and can make a perfectly good pair of skis feel rather lifeless. Learning how to wax skis is one of the most useful bits of ski maintenance a UK skier can pick up, whether you are preparing for a week in the Alps or keeping kit running well between sessions at the local dry slope.
A fresh wax does more than make skis quicker. It protects the polyethylene base from drying out, helps it repel moisture and dirt, and gives the edges and base a little more resilience when conditions turn abrasive. The job is straightforward, but the details matter: too much heat can damage a base, while the wrong wax or poor scraping can leave you no better off.
Why waxing skis changes the way they feel
Ski bases are made from a porous material that benefits from regular waxing. As you slide, friction creates a thin film of water between ski and snow. Wax helps manage that film, reducing drag and allowing the ski to glide cleanly rather than feeling as though it is gripping the snow.
On a cold, dry day, the difference can be striking on cat tracks, run-outs and flatter sections where momentum matters. In wet spring snow, the right wax can stop the frustrating suction effect that makes skis feel slow and heavy. Racers chase very specific wax profiles, but recreational skiers do not need a laboratory approach. A sensible all-temperature wax, applied properly, is a major improvement on an unwaxed base.
How often you wax depends on how and where you ski. A keen skier on a two-week holiday, especially one skiing hard-packed pistes, may wax once during the trip. For most people, waxing before a main holiday and again after roughly five to seven full days on snow is a good rhythm. If the base looks chalky, grey or white around the edges, it is asking for wax sooner.
What you need to wax skis at home
A dedicated ski waxing iron is best. It holds a steadier temperature than a domestic iron and has a smooth, flat plate without steam holes. A household iron can work in a pinch, but it is easier to overheat the wax or catch the base, so it is not the ideal long-term solution.
You will also need a plastic scraper, a nylon brush, a brass or bronze brush if you want a more thorough finish, fibre cloth or kitchen roll, and ski vices or a stable bench arrangement. A universal hydrocarbon wax is the sensible starting point. It covers a broad range of snow temperatures and removes much of the guesswork for a normal ski holiday.
Avoid older fluorinated race waxes. They pose health and environmental concerns and are restricted in competitive skiing. Modern fluorine-free waxes perform well for everyday piste skiing and are the straightforward choice for home servicing.
Work somewhere ventilated, dry and well lit. A garage, shed or workshop is ideal, provided you can keep skis secure and avoid breathing wax fumes. Put down cardboard or an old sheet – scraping wax is a messy business.
How to wax skis: the step-by-step method
1. Let the skis dry and come up to room temperature
Never wax skis straight from the car roof box or after a day in slushy snow. Wipe them down, let them dry fully and allow the bases to warm to room temperature. Moisture trapped around bindings or in scratches is not helpful, and a cold ski makes it harder to achieve an even wax application.
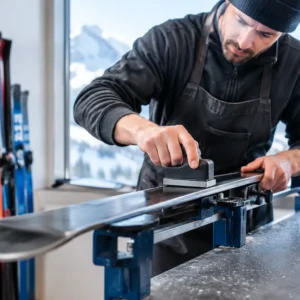
Secure the skis base-up in vices, ideally with the brakes held out of the way by a thick elastic band. If you do not own vices, place the ski on a firm bench with towels underneath and work carefully. Stability matters more than elaborate equipment.
2. Clean the bases before adding wax
Brush the base from tip to tail with a brass or bronze brush to lift dirt and old oxidised material from the structure. Then wipe away loose debris with a clean cloth. If the bases are especially grimy after indoor slope use, spring skiing or a long period in storage, use a ski-specific base cleaner sparingly and allow it to evaporate completely.
Do not rely on cleaner every time. Frequent solvent use can dry a base, and a hot wax scrape is often a gentler way to clean it. For this, melt on a soft wax, scrape it off while still warm, then brush. It draws surface dirt out with the wax.
3. Set the iron low enough
Check the temperature guidance on the wax packet. Most universal waxes melt at a moderate setting, often around 110-130°C, but follow the manufacturer’s advice rather than treating that as a fixed rule. The wax should melt into a smooth liquid without smoking.
If it smokes, the iron is too hot. Turn it down, ventilate the space and wait a moment. Scorching wax can produce unpleasant fumes and risks overheating the ski base. Keep the iron moving at all times when it touches the ski; never leave it resting in one place.
4. Drip on wax, then iron it evenly
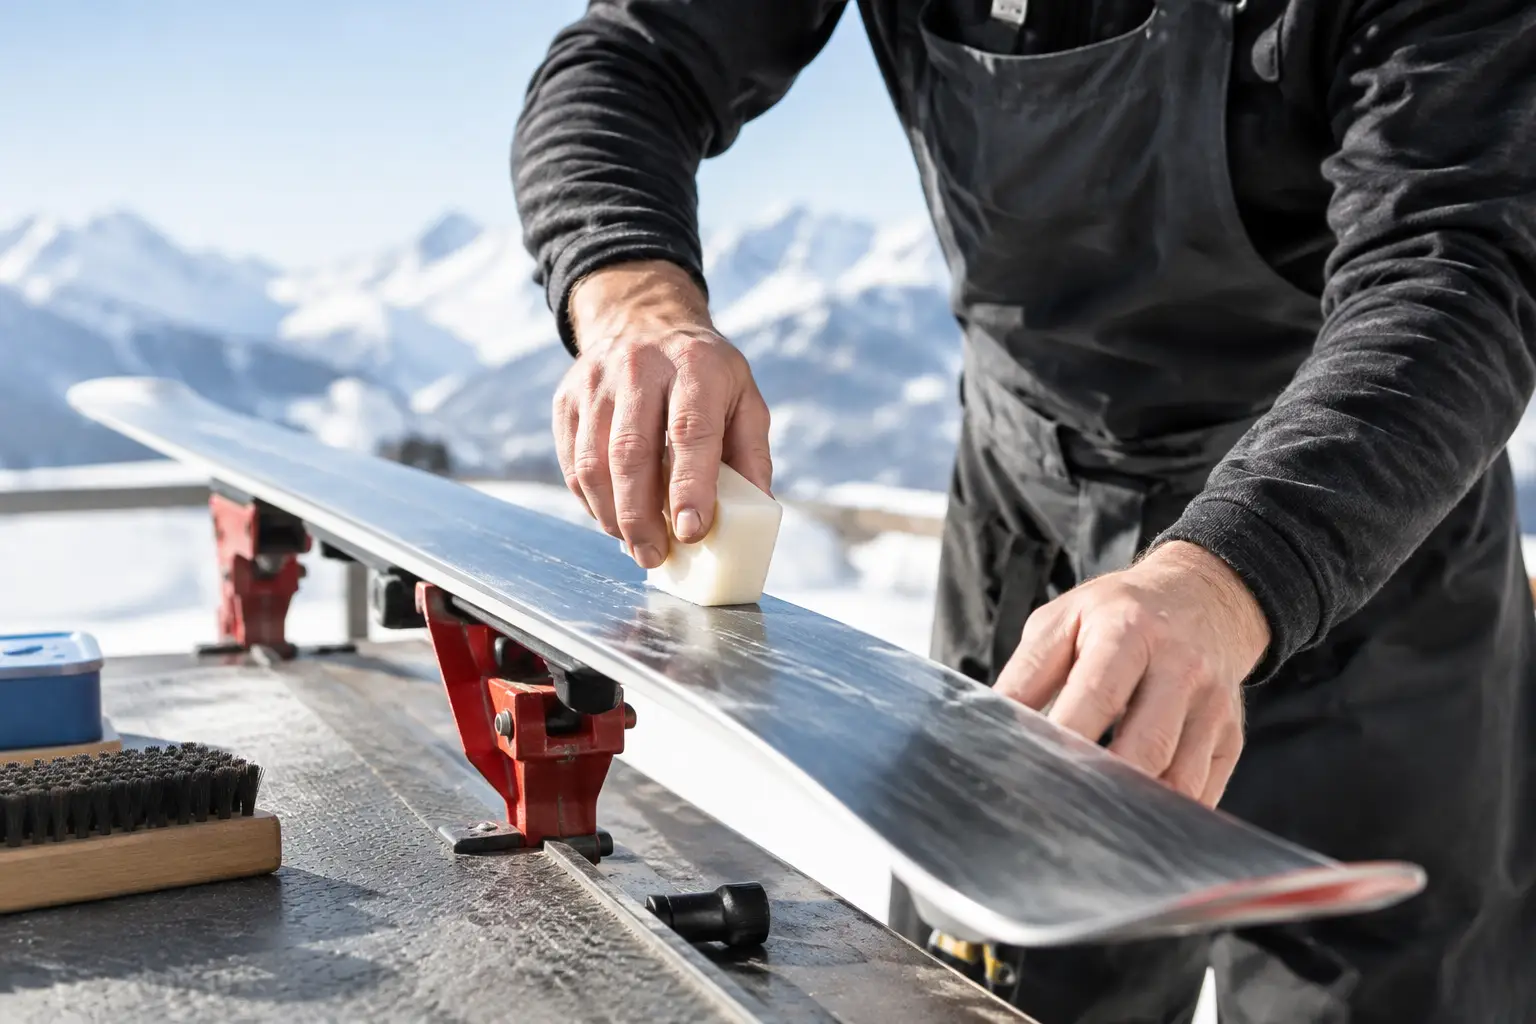
Hold the wax block against the hot iron and let droplets fall down the length of the base. You do not need to cover every centimetre with thick drips. A light zigzag line from tip to tail is enough.
Place the iron on the base and spread the wax with slow, overlapping passes. Aim for a thin, even wet sheen across the whole base, including the edges. Usually two or three passes are sufficient. The purpose is to melt wax into the base, not cook it on the surface.
A useful rule is that the ski should be warm to the touch afterwards, not hot. If you cannot comfortably hold the base soon after ironing, slow down and reduce the temperature next time.
5. Allow the wax to cool properly
Leave the skis for at least 20 to 30 minutes at room temperature. The wax needs time to harden and settle into the base. Rushing to scrape while it is warm removes more wax than intended and can leave an uneven finish.
For a deeper treatment, particularly on dry-looking bases, some technicians leave wax to cool for several hours. That is fine, but it is not essential for routine holiday preparation.
6. Scrape from tip to tail
Use a sharp plastic scraper held at a slight angle and make firm, controlled strokes from tip to tail. Keep going until very little wax comes off. This feels counterintuitive at first: surely more wax means more glide? In reality, wax belongs in the microscopic structure of the base, not as a thick layer sitting on top of it.
Pay attention to the edges. Run the scraper lightly along each edge to remove excess wax that could affect grip and make later edge work more awkward. Metal scrapers are for serious repair work, not normal waxing, and can easily damage a base in inexperienced hands.
7. Brush and polish the base
Brush tip to tail with nylon to expose the base structure and remove the final fine wax residue. Ten to 20 passes is usually enough. A quick polish with fibre cloth gives a clean finish.
The base should look evenly dark and feel smooth, but it should not appear glossy with a visible wax coating. If it does, scrape and brush a little more.
Choosing wax for the snow you expect
Universal wax is the best answer for most skiers, particularly if you are travelling from the UK and do not know precisely what the weather will do. It works well enough across typical Alpine holiday conditions and keeps servicing simple.
Temperature-specific wax becomes worthwhile if conditions are predictable. A hard, cold-temperature wax suits dry, abrasive snow and sub-zero mountain days. Softer warm-temperature wax is better for wet spring snow. The trade-off is convenience: a very specific wax may be marginally quicker in its intended conditions but less versatile if the forecast changes.
If you have only one block of wax in the workshop, make it universal. Good preparation and correct application make a larger difference than chasing perfect temperature matching.
The mistakes that slow skis down
The most common error is overheating. Smoking wax, a strong smell or a base that looks dull and blistered are warning signs. Keep the iron moving and use the lowest effective setting.
The next is failing to scrape thoroughly. Thick wax attracts dirt and blunts the base structure that helps channel water away. Finally, do not wax over a damaged base and expect a cure. Small scratches can often be filled, but deep gouges, edge separation or a noticeably concave base deserve attention from a proper ski workshop.
Before you pack for the mountains, give your skis that hour on the bench. A clean, freshly waxed base will not turn a cautious skier into a World Cup contender, but it will help every run feel freer, faster and rather more enjoyable – which is precisely what ski preparation should deliver.