Your stance can be the difference between a board that feels planted and intuitive, and one that feels like it is arguing with you all day. If you have ever blamed your legs, your balance or even the snow, this guide to snowboard stance setup is a good place to start. Small changes in width, angles and setback can transform comfort, control and confidence far more quickly than most riders expect.
Why snowboard stance setup matters
Bindings are not just bolted on and forgotten. They shape how your knees track, how easily the board rolls edge to edge, how stable you feel in a straight line and how natural it is to ride switch. A stance that suits your body and riding style helps you move with the board rather than fight it.
That does not mean there is one perfect setup for everyone. Height matters, but so do hip mobility, ankle flexibility, injury history and what sort of rider you are. A park rider lapping rails at an indoor slope in the UK will usually want something quite different from a holiday rider chasing chopped-up afternoon pistes in the Alps.
Start with the basics
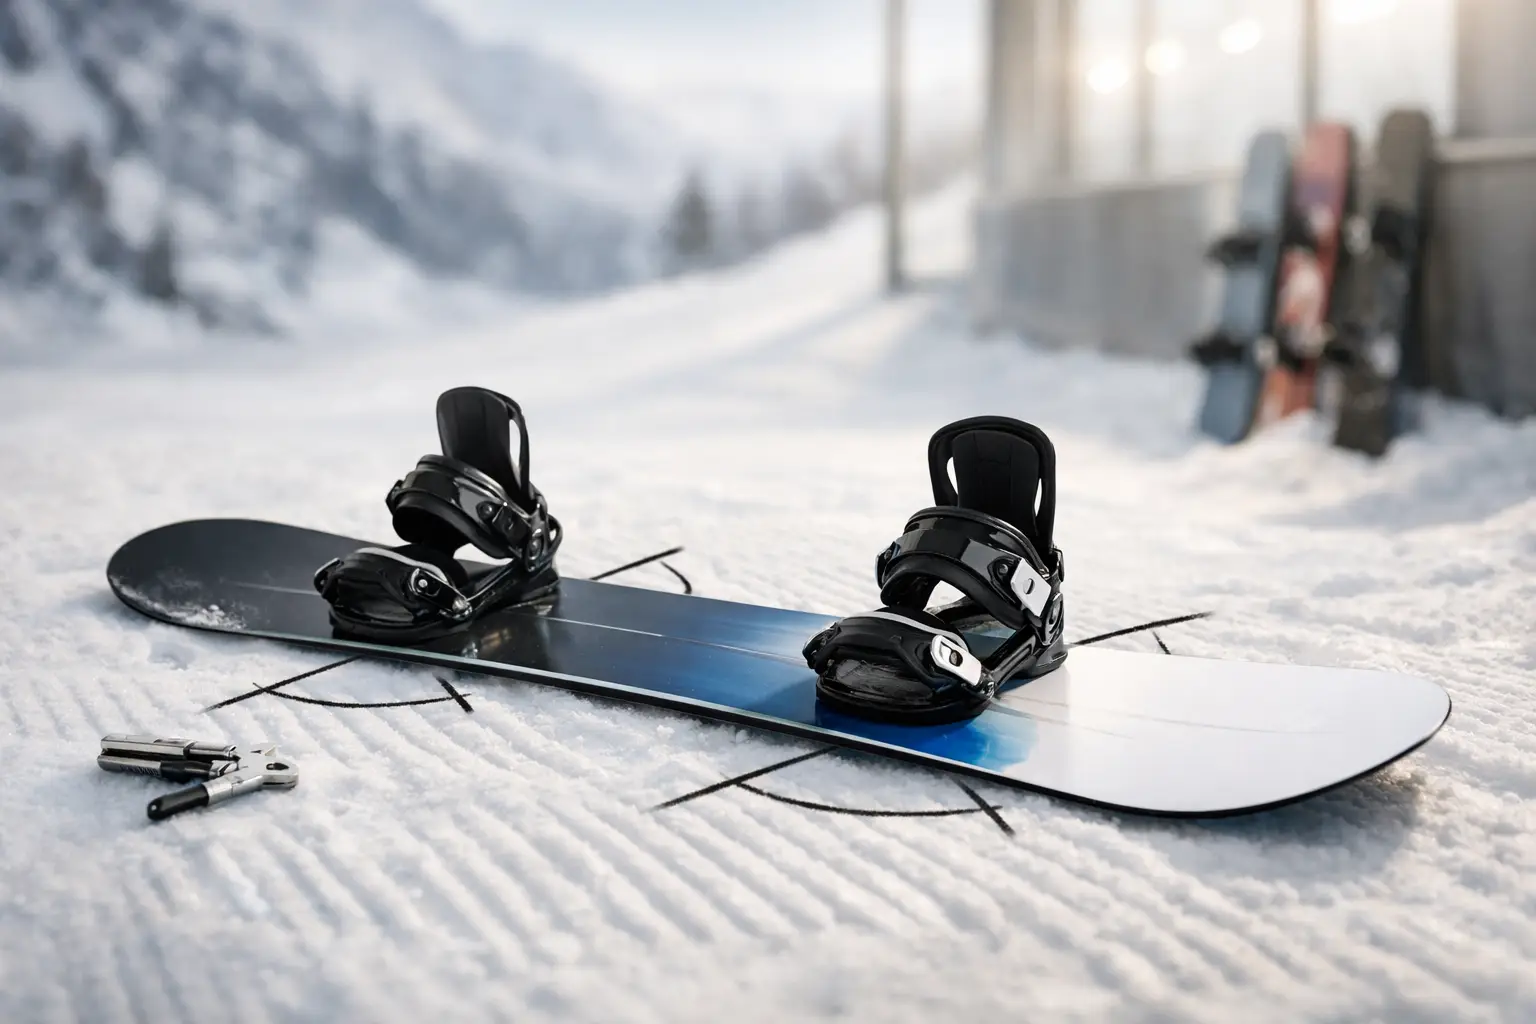
A snowboard stance has three main variables. Width is the distance between your bindings. Angles refer to how much each binding points towards the nose or tail. Setback is how far your stance sits towards the tail rather than centred on the board.
There is also highback rotation and forward lean, but for most riders the biggest gains come from getting those first three right. If you are setting up a new board, resist the urge to copy a mate exactly. Their knees, boots and riding habits are not yours.
Guide to snowboard stance setup for your first baseline
The smartest place to begin is neutral and adjustable. Start with a stance width around shoulder width, or very slightly wider. On many boards that lands somewhere in the manufacturer’s reference stance, which is usually marked on the insert pack. Reference stance is not law, but it is a sensible baseline because it reflects how the board was designed to flex and turn.
For binding angles, a duck stance works well for a broad range of riders. Something around +15 on the front foot and -9 on the back foot is a reliable starting point. It keeps your hips in a comfortable position, makes riding switch less awkward and tends to be forgiving on the knees.
Setback depends more on terrain. If you mostly ride pistes, occasional side hits and a bit of everything, keeping the stance centred or only slightly set back is sensible. If your priority is powder, more setback helps the nose stay up and reduces the work your back leg has to do.
Finding the right stance width
Stance width is often the first thing riders notice when it is wrong. Too narrow and the board can feel twitchy, unstable and harder to press or absorb rough snow with confidence. Too wide and you may feel locked in, slower edge to edge and under strain through the hips or inside of the knees.
A good width allows you to flex naturally into an athletic position without forcing your knees out or in. On snow, you should be able to ride flat-based, bend through both legs and stay balanced without feeling perched. If you feel like your legs are being pushed apart all day, narrow it slightly. If you feel cramped or unstable, go a touch wider.
The key phrase is a touch. Move each binding one insert position at a time, then ride it properly before changing anything else. Drastic changes rarely help, and they make it harder to understand what improved the feel.
Choosing your binding angles
Angles have a big effect on comfort and riding style. For many all-mountain riders, a moderate duck stance is the sweet spot. It supports a centred posture and keeps things versatile, especially if you like occasional switch riding.
If you are more freestyle-focused, you might prefer a more symmetrical setup such as +15 and -15. That can feel balanced for spins, switch take-offs and park laps. The trade-off is that some riders find a strong duck stance less natural for carving at speed.
If your riding is more directional, for example cruising pistes, carving and riding powder on a freeride board, a front foot with a bit more positive angle and a back foot closer to flat can work well. Something like +18 on the front and -3 or +3 on the back often feels purposeful without being extreme. This tends to line the body up a little more with the nose of the board and can feel strong in turns, though it is less balanced riding switch.
Knee comfort matters here. If your joints complain after a few runs, your angles may be forcing an awkward alignment. There is no prize for copying a pro setup that does not suit your body.
Centred or set back?
Setback is where board design and snow conditions start to matter more. A true twin intended for park riding usually makes most sense with a centred stance. It keeps the board balanced in both directions and preserves its intended feel.
On a directional all-mountain or freeride board, a slight setback is often part of the design. That helps with float in softer snow and can make turn initiation feel calmer on steeper terrain. If you are heading on a trip where fresh snow is likely, moving both bindings back a little can be one of the easiest upgrades you make all week.
Still, more setback is not always better. Too much can make the board feel less balanced on piste and less comfortable for freestyle riding. If most of your day is spent on groomers with only occasional powder, a modest setback usually gives the best compromise.
Match the setup to how you actually ride
This is where a guide to snowboard stance setup becomes genuinely useful, because the right answer depends on what your days on snow really look like.
For beginners, simplicity wins. Use the reference stance, keep the width near shoulder width and run moderate duck angles. You want a setup that encourages stable, basic movement and does not punish mistakes.
For all-mountain riders, stay fairly neutral. A slightly ducked stance, moderate width and a little setback if the board allows will cover most resort days well, from morning corduroy to late-afternoon chop.
For park riders, a centred stance and more symmetrical angles make sense. You want balance for jumps, presses and switch riding. Many riders also prefer a slightly wider stance here, though not so wide that it reduces mobility.
For freeride and powder, lean more directional. A touch narrower can help with quicker edge changes in variable snow, positive front-foot angles can support stronger carving posture and a bit more setback will make deep snow less tiring.
Fine-tuning on snow
The car park is not where stance setup gets solved. The real test is a few runs on mixed terrain. Start by asking simple questions. Do your knees feel natural when traversing and turning? Does the board feel stable when flat-based? Can you initiate turns cleanly on both edges? Does one direction feel oddly stronger than the other?
If the board feels nervous, first consider a slightly wider stance or a small angle change. If your turns feel sticky or your body feels twisted, revisit the angles. If your front leg is doing too much work in softer snow, experiment with a little more setback.
Only change one variable at a time. That sounds obvious, but many riders alter width, angles and setback in one go, then have no idea what actually helped. Take a screwdriver, make one adjustment, ski-lift chat about it if you must, then ride it for a couple of runs before deciding.
Common mistakes riders make
The biggest mistake is assuming there is a universally correct setup. There is not. Even riders of the same height can prefer quite different positions because mobility and style vary so much.
The second is going too extreme. Very wide stances, aggressive angles or heavy setback can look purposeful on paper but feel tiring in practice. Most resort riders perform better with moderation.
The third is ignoring pain. If a setup causes discomfort in your knees, hips or lower back, treat that as useful information rather than something to push through. Good snowboard stance setup should feel supportive, not like a compromise with your joints.
Don’t forget boots and bindings
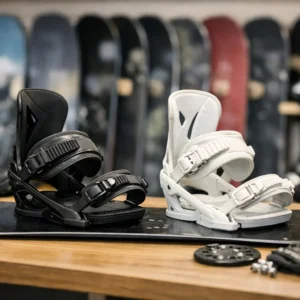
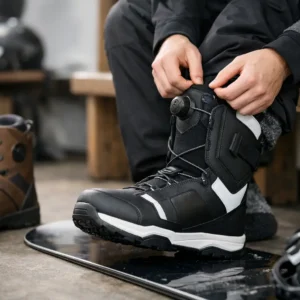
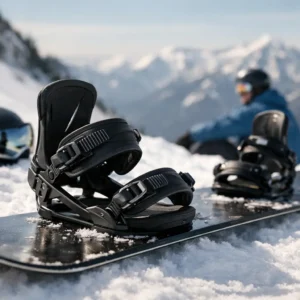
Your stance is only part of the picture. Boot overhang, binding size and boot stiffness also influence how the board feels. If your boots massively overhang the edges, steep edging can become awkward. If your binding straps or highbacks are poorly adjusted, the whole setup can feel imprecise no matter how good your angles are.
This is why experienced riders tend to think in systems rather than isolated components. The board shape, binding position, boot fit and preferred terrain all work together. Get them roughly aligned and the board starts to feel far more intuitive.
The best stance is usually not the most fashionable or the most technical sounding. It is the one that lets you ride longer, move naturally and trust the board in front of you. Start with a sound baseline, make small changes with purpose and let the mountain tell you what works.